Creating your own map in Roblox can be a fun and exciting way to express your creativity. Whether you’re building a game world for yourself or for others to enjoy, the process of designing and building a map can be a rewarding experience.
In this article, we’ll go over some tips and tricks to help you create your own map in Roblox.
What is Roblox Studio?

Roblox Studio is a free program that serves as a tool for creating and developing games, worlds, and experiences for Roblox. It is the building tool of Roblox that helps you to create maps in Roblox and turn them into the places of your dreams.
With Roblox Studio, you can design and build any virtual world or game. It includes all the necessary functions that will allow you to create your own map.
Roblox Studio provides developers of different skill levels with a suite of tools to create immersive experiences. It is simple and straightforward to use and has been designed so that beginners and advanced users can give life to their ideas on this multiplayer platform.
In addition to game creation, Roblox Studio includes a large library of elements, objects, landscapes, music, and effects so that anyone without programming experience can use the program and create their own maps in Roblox.
How to Download Roblox Studio:
Here is a step-by-step guide on how to download Roblox Studio:
- Visit the Roblox website.
- Click on the “Create” button in the top menu.
- Click on the “Start Creating” button.
- Click on the “Download” button if prompted.
- Follow the prompts to install Roblox Studio on your computer.
- Once the installation is complete, you can open Roblox Studio by clicking on the icon on your desktop or in your program list.
How to Create your own map in Roblox – step by step
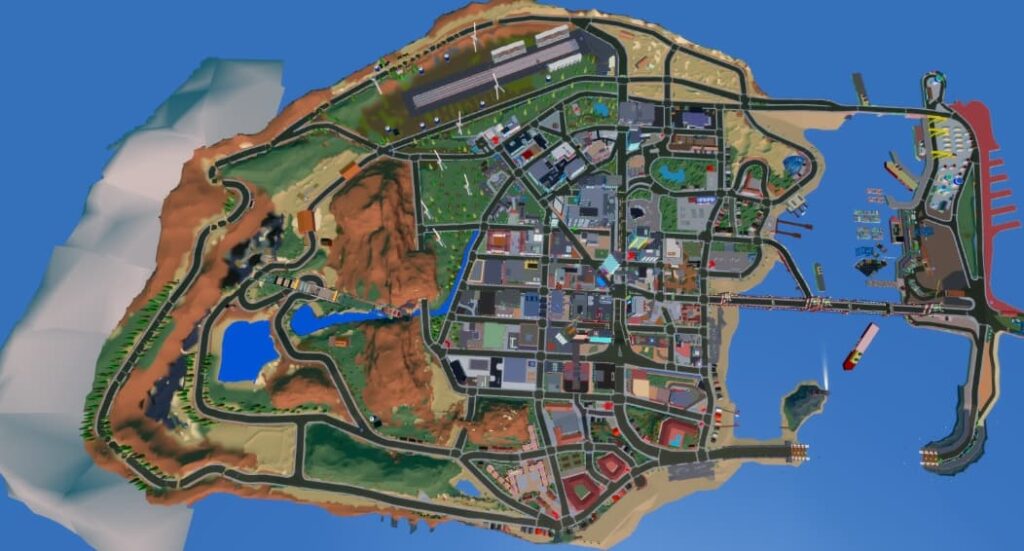
Creating maps on Roblox Studio can be a fun and rewarding experience. Here is a step-by-step guide to help you get started:
Conceptualize Your Map:
Before diving into the building process, it’s crucial to have a clear concept for your map. Think about the type of game you want to create, its objectives and the overall theme. This initial brainstorming phase will provide a solid foundation for your map.
Choose a Game Mode:
Roblox offers various game modes, from obstacle courses to role-playing games. Select the game mode that best suits your map’s concept. This choice will influence your map’s design and gameplay mechanics.
Launch Roblox Studio:
To start building your map, open Roblox Studio, the official development tool provided by Roblox. You can find it in the ‘Create’ section on the Roblox website.
Design the Terrain:
Begin by shaping the terrain. Roblox Studio provides tools to sculpt mountains, valleys, and landscapes. Customize your terrain to match your map’s theme and objectives.
Add Models and Objects:
Populate your map with models and objects. Roblox offers a vast library of assets, or you can create your own using 3D modeling software. Place trees, buildings, vehicles, and any other items that fit your game’s setting.
Scripting and Interactivity:
To make your map interactive, you’ll need to write scripts using Lua, Roblox’s scripting language. Scripts can control game mechanics, NPCs (non-playable characters), and much more. Roblox provides a robust scripting API and resources for beginners.
Test Your Map:
Frequent testing is crucial to refining your map. Use the ‘Play’ button in Roblox Studio to experience your map as a player. Identify any issues, make adjustments, and iterate until it plays smoothly.
Optimize for Performance:
Keep your map’s performance in mind. Optimize it to ensure it runs smoothly on various devices and internet connections. Remove any unnecessary objects or scripts that might cause lag.
Publish Your Map:
Once you’re satisfied with your map, it’s time to publish it. Go to the ‘Home’ tab in Roblox Studio and click ‘Publish to Roblox.’ Follow the prompts to make your map available to the Roblox community.
Tips and Tricks to create the best map in Roblox
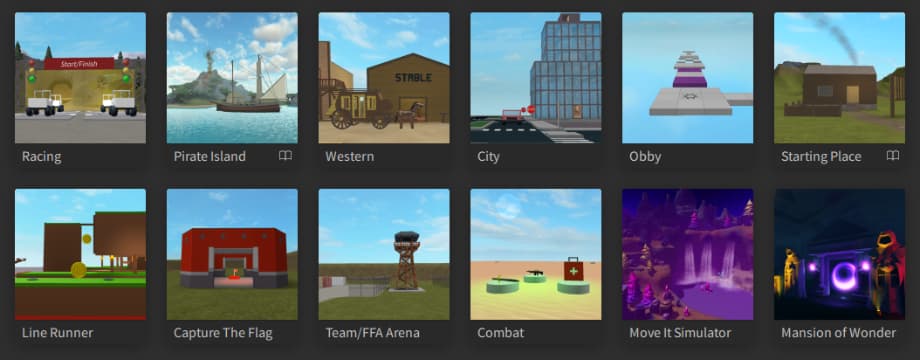
Here are some additional tips and tricks to help you create the best map in Roblox:
Stay Inspired:
Continuously seek inspiration from other Roblox games and real-world locations. Inspiration can spark creative ideas for your map.
Collaborate:
Consider collaborating with other developers. Teamwork can bring diverse skills and ideas to your project.
Listen to Feedback:
Pay attention to player feedback and make improvements based on their suggestions. A responsive developer can attract a loyal player base.
Stay Informed:
Keep up with Roblox updates and community trends. This will help you implement the latest features and maintain your map’s relevance.
Experiment and Learn:
Don’t be afraid to experiment and learn. Building maps in Roblox is a learning process, and each project can teach you something new.
Roblox Creator Hub:
The Roblox Creator Hub provides documentation and tutorials on how to use Roblox Studio, as well as resources for developers of all skill levels.
How to Create Your Own Map in Roblox – Conclusion
In conclusion, creating your own map in Roblox is an exciting adventure that offers endless opportunities for creativity. As we’ve explored in this guide, it involves coming up with ideas, planning carefully, designing, writing scripts, and putting in effort.
Roblox is a fantastic platform where developers, regardless of their skill level, can turn their ideas into reality. It’s a place where you can feel a sense of achievement and connect with a global community.
Creating your own map in Roblox can be a fun and rewarding experience. By following these tips and tricks, you can design and build a map that is both unique and visually appealing. So, what are you waiting for? Start creating your own map in Roblox today!
この記事が気に入りましたか?インサイダー・ビッツ・ブログをお気に入りに追加して、テクノロジーやその他多くの新しくエキサイティングな情報を知りたいときにいつでもアクセスしてください!
