Setting up parental controls on your Mac computer can make a big difference in ensuring online safety at home. It’s easy, quick, and something any macOS user can do.
This tutorial by Insiderbits guides you on how to effectively establish and manage these settings, which are perfect for parents who want their kids to explore safely online.
Eager to enhance your Mac’s safety features? Stay with us to explore more advanced features and tips that will help you tailor your Mac’s controls for your family’s specific needs.
関連記事 How To Connect Your Apple Devices – A Comprehensive Guide
Setting up parental controls with Mac’s built-in features
Setting up parental controls with Mac is a proactive step toward protecting your children online. These features offer comprehensive tools to manage and monitor digital activity.
Below, we’ll walk you through the essential steps to configure settings. From restricting access to content to managing screen time, learn how to secure your Mac effectively.
- Click on the Apple logo located in the upper left corner of your screen.
- Select “System Preferences” from the dropdown menu to open the settings window.
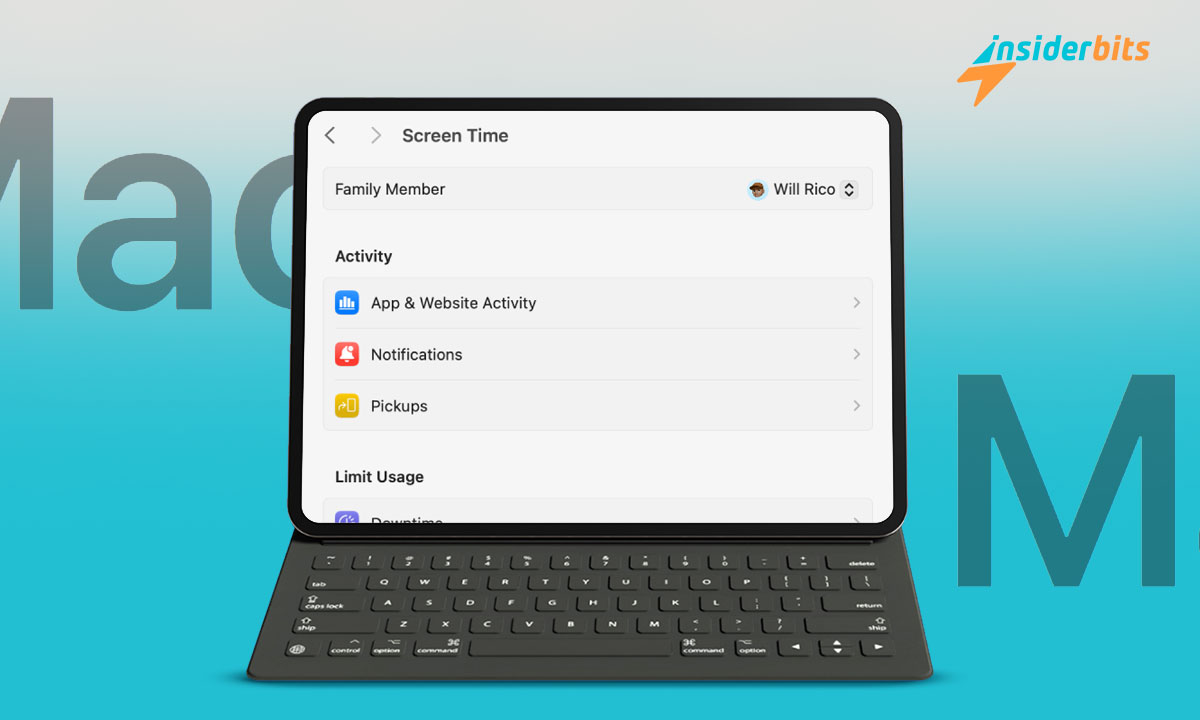
- Within “System Preferences”, search for the “Screen Time” icon.
- Click on the “Screen Time” icon to open the built-in app’s overview.
- If you’re setting this up as part of Family Sharing, click on “Family Sharing” first.
- Manage settings by adding members or selecting an existing family member’s profile.
Enabling Downtime
To configure Downtime through parental controls on your Mac, first access “Screen Time” in System Preferences. This feature helps you schedule periods when device use is limited.
Once in Screen Time, select “Downtime”, toggle it on, and specify the allowed hours for each day of the week. This ensures the device is used only during designated times.
Downtime is useful for making sure children are not using their devices late at night or during meal times. Customize it by selecting “Every Day” or “Custom” to specify different times.
Managing App Limits
Setting app limits is another crucial aspect of parental controls on Mac. Navigate to the Screen Time settings and choose “App Limits”.
Here, you can add limits by clicking the “+” icon and selecting apps or categories. This controls how long each application installed on your Mac can be used every day.
After setting limits, your child will only be able to access the selected apps for the duration you’ve specified. This helps manage their online presence, promoting healthier digital habits.
Implementing Communication Limits
To set up Communication Limits, which dictate who your child can interact with on their Mac, open “Screen Time” in System Preferences.
Under the “Communication Limits” tab, you can establish rules for during allowed screen time and downtime. This feature is designed to prevent distractions and ensure focus.
Choose to allow communication with everyone or only with contacts, and set limits for Downtime to further restrict interactions during certain hours.
Configuring Content & Privacy restrictions
To manage content and privacy, access the Screen Time panel and click on “Content & Privacy”. This allows you to control the types of content that can be accessed.
Enable options like “Limit Adult Websites” or select “Allowed Websites Only” to control web access. In this section, you can also restrict explicit language in media.
Plus, you can also choose whether your child can play multiplayer games or add friends in Game Center, making sure that your child is exposed only to appropriate content.
関連記事 電話追跡 - あなた、友達、家族をつなぐ
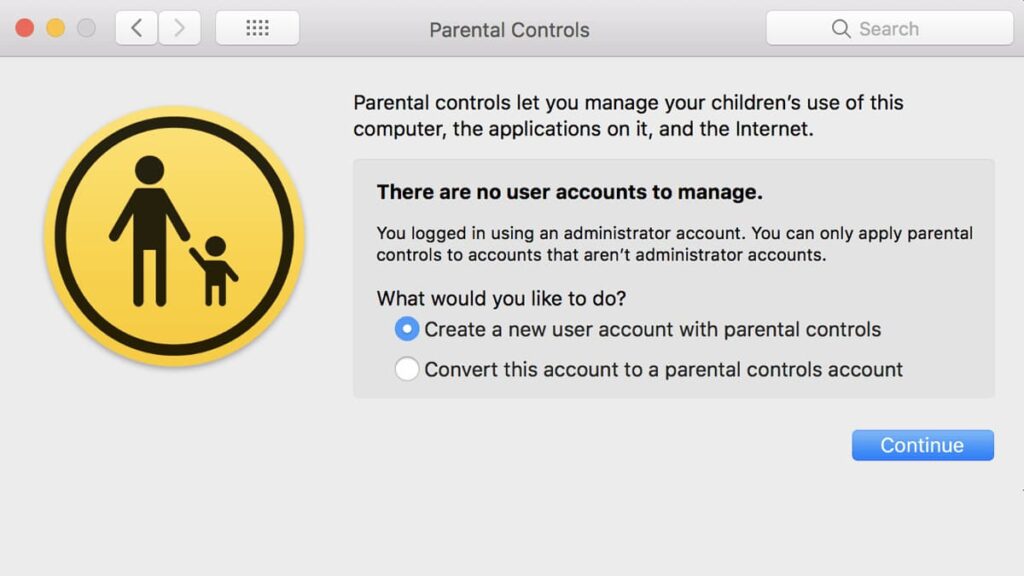
Creating a separate account for children

Learning how to create a separate account for your children on your Mac is a smart move for parents looking to keep their own browsing and app experiences unrestricted.
By setting up a separate user profile for your child, you can apply specific restrictions and monitor their online activities without impacting your personal settings. Here’s how it works:
- Click on the Apple icon in the upper-left corner of your screen, then choose “System Preferences” from the dropdown menu.
- Within System Preferences, find and click on “Users & Groups” to manage user accounts and permissions.
- Click the lock icon located at the bottom left of the Users & Groups window to enable changes. Enter your administrator password when required.
- Click the “+” button below the list of current users to begin adding a new account to your Mac computer.
- Fill in the name and create a password for the new account. You can also add a password hint to assist in remembering the password.
- Select “Standard” from the account type choices. This type restricts the user’s administrative privileges on the Mac.
- After entering all details and choosing the account type, click on “Create User” to finalize the creation of the child’s account.
From there, you can access “Screen Time” in your Settings and configure the parental controls you want directly into your child’s account.
This alternative makes it so that the restrictions you impose on their account don’t interfere with your own while making sure that their online activities are monitored and safe.
External apps that can help with parental controls
For parents looking for more comprehensive monitoring of their child’s online activities, third-party parental control apps provide enhanced features beyond what’s built into macOS.
These apps not only track usage but also offer detailed reports and customizable settings to make sure your child’s digital environment is safe and healthy.
FamiSafe
FamiSafe is a dependable parental control app that not only monitors your child’s location but also manages their screen time effectively, serving as a guardian of family online safety.
Incorporating parental controls on your Mac with FamiSafe gives you the ability to oversee your child’s digital life with activity reports that keep you informed about their online behavior.
The app teaches you how to set up screen viewing, and much more to ensure your child’s safety online. The easy setup process makes it an excellent choice for proactive parents.
Circle
について Circle Parental Controls App provides a solid solution for parents aiming to balance their children’s screen time and internet exposure, both at home and on the go.
Its intuitive interface allows for easy setup and customization based on your family’s specific needs, ensuring that your children stay safe and focused.
By integrating Circle’s parental controls on your Mac, you get comprehensive control over your children’s online activities since this app not only sets limits but also filters content.
Bark
Bark is designed to help families navigate the complexities of raising children in today’s digital world. It offers content monitoring, screen time management, and filtering of websites.
With Bark’s parental controls on your Mac, you can oversee all online activities. It monitors apps and social media platforms, ensuring your child is shielded from inappropriate content.
Additionally, Bark makes it easy to learn how to set up content monitoring, manage screen time schedules, and implement web filters on your Mac thanks to its user-friendly interface.
関連記事 Kiddle – A Kid-Friendly Search Engine – What You Need to Know
Final thoughts on elevating child safety on Mac
Exploring parental control tools reveals just how effective they can be in ensuring your child’s digital safety. These features and apps offer broad coverage and protective measures.
With parental controls on Mac, safeguarding your child’s online presence becomes intuitive and thorough, and third-party tools like Bark and Circle extend beyond basic restrictions.
Brought to you by Insiderbits, this guide aims to empower you with knowledge on effectively setting up these protective measures so that your child can browse the web with ease.
Stay connected with Insiderbits for more enlightening content like this! Dive into our range of articles to learn how to efficiently navigate through technology with us by your side.


