How can you share the Internet from your iPhone easily? At Insiderbits, we teach you! Staying up to date thanks to the Internet is essential for everyone. But what happens when you are away from home or in a place with no Wi-Fi network available??
So, you’re wondering how to share the Internet?
Let’s dive in and show you how it’s done! Before sharing, ensure an active and stable data flow. You can verify this from the settings where you observe your data activity and consumption. A good practice to save data is to activate the “Data optimization” box. It reduces data usage by compressing information before sending it to you.
To activate it, go to the settings and search for the data on your cell phone. Then, you will see the mobile data options and activate “Optimize app data,” which is it. Now, let’s start.
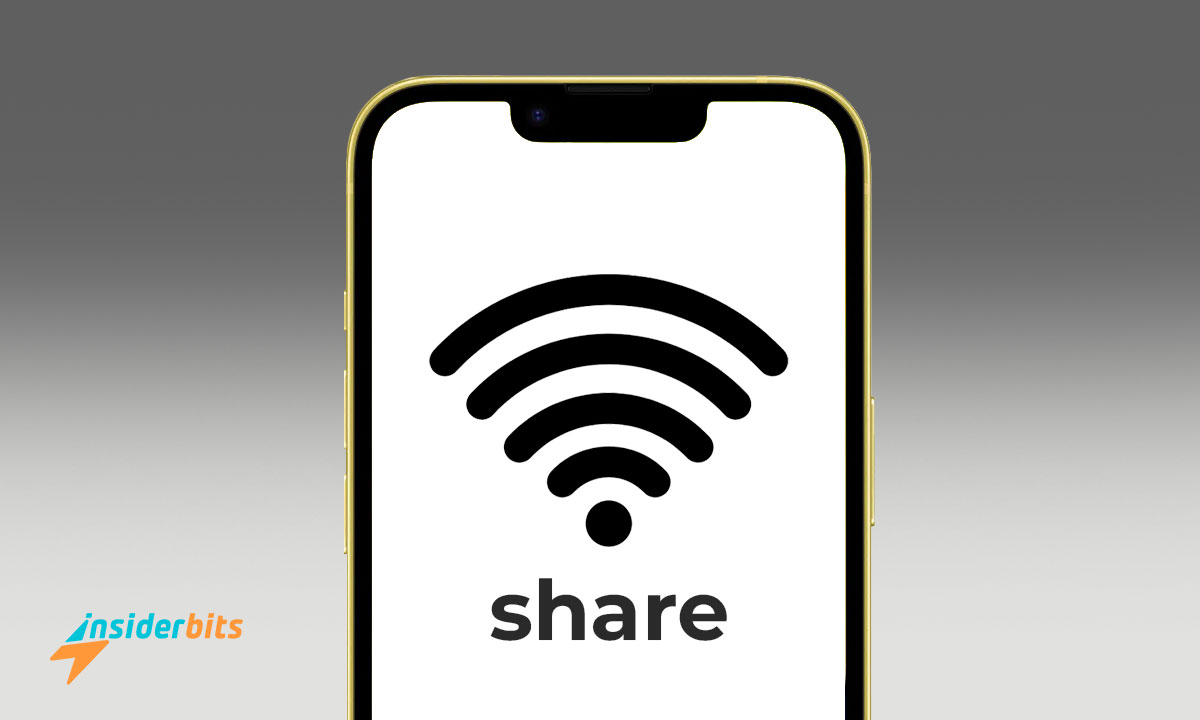
Empower Personal Wi-Fi Zone
The Personal Wi-Fi Hotspot section is the key to sharing the Net without a physical gateway. This tool lets you create a small Wi-Fi network.
- First, open the Settings app and navigate to Personal Hotspot. Click on it.
- If prompted, enter or confirm your Apple ID password.
- Afterward, you will see that your cell phone has formed a new Wi-Fi network.
It is a success, so be happy about it. Now, you have to customize the settings of your connection gateway.
Customize “Personal Wi-Fi Hotspot” settings
Although it works by default, you could customize some options to suit your needs. Here are the settings:
- Wi-Fi Hotspot Password. In there, change the default password to a more secure and easy-to-remember one.
- Security. You can choose between WPA2 Personal or WPA3 Personal security options to protect your network.
- Wi-Fi Hotspot Name. If you wish, you can change the default name of your network to something more descriptive or fun.
Using Link Mode, you can choose whether only one device connects at a time or whether multiple devices can connect simultaneously.
It means you can prioritize specific devices over others, ensuring your network runs smoothly and efficiently. For instance, if you are streaming a movie on your smart TV, you can enable Link Mode to prioritize its connection over others.
Alternatively, if you require a stable internet connection, you can restrict the devices that connect simultaneously to ensure you have enough bandwidth for your work.
Maximize the performance of your Wi-Fi
Nobody wants a slow and heavy connection that does not allow us to enjoy. To get the best possible performance from your “Personal Wi-Fi Zone,” take a look at these recommendations:
- Keep your phone close to linked devices for better coverage.
- Close applications and browser tabs you are not using to free up system resources.
Lastly, avoid performing data-intensive tasks like streaming video or downloading large files while sharing your signal. And that’s it, it’s that easy.
Connect via USB
If the previous method didn’t convince you, don’t worry. Due to multiple circumstances, it may not be helpful for you to use your personal Wi-Fi. This alternative is usually more stable than the “Personal Wi-Fi Hotspot,” but it also limits mobility. It would be best if you had a USB cable to connect it from your phone to the device you are interested in.
To establish the wired Internet link mode, search on your terminal and go to Settings Personal Wi-Fi Zone. Then, check the “Allow others to connect” box. Finally, activate “Wired Internet Integration” below your previous choice.
Check the network share
Once you’ve followed the steps above, your other device should be linked to the net. You can verify that the network is being shared by monitoring data usage.
Look in Settings, followed by Mobile Data, and finally Data Usage. Keep these additional considerations in mind: The USB link is more stable than the personal hotspot, but it limits mobility.
Don’t forget that swapping the connection can consume a lot of data, so monitor your usage. Some operators may charge additional charges for exchanging data. Check with your provider.
Also, when you finish, disconnect the USB cable and uncheck your device’s “Wired Internet Integration” box. It will prevent you from exceeding your data consumption.
Let’s talk about the Bluetooth tethering
The third alternative to traditional methods is Bluetooth tethering, an excellent data-sharing method.
- In this case, you must turn on Bluetooth.
- Now, click Personal Hotspot and activate “Allow Others to Connect.” Then, turn on “Bluetooth Internet Sharing.”
- Pair your cell phone with the receiving one.
Start by searching for available devices on the mobile device (laptop, tablet, etc.). When your device appears, please choose it and begin pairing.
Don’t forget to link the paired device
From there, select the network corresponding to your iPhone to establish a stable and secure link. Depending on the functionalities supported by your specific devices, this link will allow you to transfer data or use your iPhone as a remote control for the other device.
Validate the connection
If everything was set up correctly, the other device should now be linked to the net through your phone via Bluetooth. The advantages of Bluetooth tethering are:
- It does not require a Wi-Fi access point, which can be helpful in areas with a lot of network congestion.
- It is more secure than an open Wi-Fi network as it uses a paired Bluetooth link.
To disconnect, just disable Bluetooth. It allows you to share web content without needing USB connections.
Portable hotspot
If you cannot or do not want to use the “Personal Wi-Fi Zone” or USB or Bluetooth networking, you have one last alternative. Although, this is a more expensive alternative and involves a physical access point.
- A portable hotspot is a dedicated device that creates a Wi-Fi network using a mobile data connection. Many telecommunications companies offer portable hotspots for rent or sale.
- A hotspot usually offers better coverage and speed than a “Personal Wi-Fi Hotspot.” However, as we already told you, they also require an additional cost.
You know the most popular and effective sharing methods for iPhones. We hope this post has helped you and that you have benefited from it.
Always take precautions to protect your privacy and avoid excessive data use. To keep up to date with the news and learn more about similar topics, visit other Insiderbits articles. Until next time!


 4")
